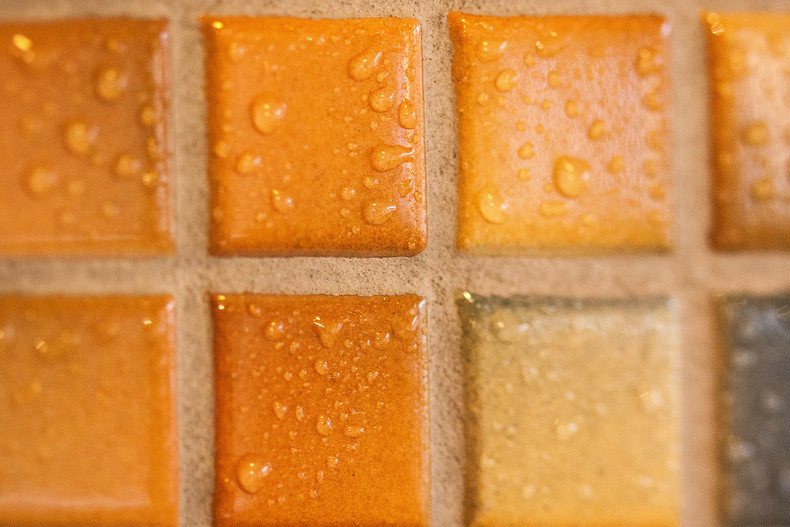
Mosaic tile can be used to create an interesting, intricate look for walls or flooring, with mosaic backsplashes being a perennial favorite. Installing mosaics in sheets can save you time, while installing small individual tiles is time-consuming, especially if you are covering a large area with the tile.
The Easy Way: Tile Sheets
Mosaic tile sheets feature designs using tiles that are already attached to a backing. Using tile sheets is the easiest way to achieve a mosaic look with your tiling project:
- Practice spacing the sheets so that the space between them is the same as between the tiles.
- If you are working with a pattern, familiarize yourself with laying the sheet in the right order.
- Trim the sheet’s paper or mesh to fit where you’ll be installing them. Remember to measure twice, cut once!
- Stack your sheets in the order you will be installing them.
- Apply thinset to the area where you’ll be laying the mosaic sheets, make sure to smooth out the grooves.
- Press the tile sheets into the mortar, smooth them by hand, lay a piece of wood on top and tap with a rubber mallet to set the tiles into the mortar.
- Allow the mortar to dry for 24 hours before applying grout.
The Hard Way: Individual Tiles
Doing a mosaic from scratch can be very time consuming, but it gives you the opportunity to create your own design. You’ll need to pay attention to detail by:
- Creating multiple grid lines to line each individual tile up with neighboring tiles.
- Using spacers to set the tiles at a uniform distance apart.
- Working with small sections at a time, so you can lay the tiles before the adhesive dries.
No matter the method you choose for installing mosaic tile, you can create an interesting effect with this type of tile.


